Rainwater Harvesting
I first discovered rainwater harvesting one summer a long time ago when I was still a teenager. I came home from summer football practice to find my father fiddling with a plastic barrel. I asked what it was for and he told me your mother wants to use rainwater for the gardens. My father installed it to the drain on the backside of the house near the basement. This way all the water when it rained would naturally flow into the barrel. Little did I know at the time how beneficial it really was until I saw how much it helped the garden, the environment, and even helped us save some money on the utility bill.
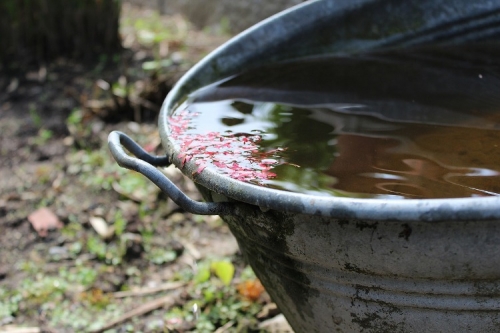
Rainwater harvesting is a unique and alternative water supply approach that anyone could use to help capture, divert, and store rainwater for a later use. Whether you want to use it for your plants or to just give your pet a drink it help reduce the demand on the existing water supply, reduces run-off, erosion, and the prevention of contamination within surface water. The purpose of rainwater harvesting applies to any situation that requires water. This can include landscaping, stormwater control, livestock water, and even fire protection if you have enough of it. Think of it this way, if you were a character on the hit TV show ‘Walking Dead,’ you would harvest rainwater to drink and grow crops. The uses are endless.
To harvest rainwater, I recommend doing it the way my father did. First, obtain a water storage barrel to store the water. You can get a barrel from your local hardware store, online, or even your place of work. Ideally you want this barrel to hold at least 30-55 gallons of water. Make sure the barrel is clean and if you plan on collecting a lot of water, buy more than one. Here are the supplies you will need: grab a hose spigot, some coupling, a hose adapter, concrete blocks, and a window screen to prevent debris and some caulk. You will need to buy additional supplies if you are using more than one barrel. Once you have all the supplies its time to level the area right next to the downspout where the barrel will be placed. The goal is to reroute the downspout directly into your barrel for easy harvesting. Add a layer of gravel and stone to help provide better drainage and to keep water from collecting near the foundation of your home and around the barrel. Once the area is level and you are able to route the water you will be able to start outfitting your barrel to harvest water. If you have more than one downspout, choose the one that is most convenient for you to collect water and use it for your garden.
Following the placement of the barrel, drill a hole towards the bottom for the spigot. Once the hole is drilled, use some caulk to fill both sides of the barrel and then secure the spigot in place. Follow the instructions for the spigot you bought to help you with its installation. Use Teflon tape to wrap the threaded ends to create a tight seal and prevent leakage. Once the spigot is in place, drill a second hole towards the top for manage potential overflow. Once again using caulk to fill the hole, attach a hose adapter, seal it with Teflon tape, and use a nut to tighten the assembly. You can attach a hose directly to the valve to assist with overflow. If you have more than one barrel, make a third hole and repeat the same process, just attach a hose between two barrels. Finally once, the barrel is completely outfitted all you need to do is cut and fit a new downspout elbow directly to the top of the barrel using a saw and some screws. Save this step for last so you’ll know what the measurements are to make the downspout fit with barrel already in place. Once the new downspout elbow is in place, add a screen filter to the very top of the downspout to prevent insects and debris.
Remember, this is a very simple way of harvesting rainwater at your home. If you want to harvest more, you can create a more complex system that suits your needs. Harvesting rainwater will transform your approach to using water for any purpose.
